
6 Minute Caramels: A Sweet Delight in No Time
6 Minute Caramels are a delightful treat that can satisfy your sweet tooth in just a fraction of the time it usually takes to make traditional caramels. Imagine the rich, buttery flavor melting in your mouth, paired with a smooth, chewy texture that makes each bite irresistible. This quick recipe is perfect for those who crave homemade sweets but are short on time.
The history of caramel dates back to the 17th century, where it was first created in Europe. Over the years, it has evolved into various forms and flavors, becoming a beloved confection around the world. People adore 6 Minute Caramels not only for their incredible taste but also for their convenience. With just a few simple ingredients and minimal cooking time, you can whip up a batch that’s perfect for sharing or indulging in yourself.
Whether you’re looking to impress guests at a gathering or simply want a quick dessert fix, 6 Minute Caramels are sure to become a favorite in your kitchen. Let’s dive into this easy recipe and discover how to create these delectable treats!

Ingredients:
- 1 cup granulated sugar
- 1/2 cup unsalted butter
- 1/2 cup sweetened condensed milk
- 1/4 cup light corn syrup
- 1 teaspoon vanilla extract
- 1/4 teaspoon salt
- Optional: Sea salt for sprinkling
- Optional: Parchment paper for lining the pan
Preparing the Mixture
- In a medium-sized microwave-safe bowl, combine the granulated sugar, unsalted butter, sweetened condensed milk, and light corn syrup. Make sure to measure each ingredient accurately for the best results.
- Stir the mixture gently with a spatula until all the ingredients are well combined. It should look somewhat smooth, but don’t worry if it’s not perfectly blended at this stage.
- Place the bowl in the microwave and heat on high for 4 minutes. After 4 minutes, carefully remove the bowl (it will be hot!) and stir the mixture thoroughly. This step is crucial as it helps to ensure even cooking.
- Return the bowl to the microwave and heat for an additional 2 minutes. Keep an eye on it to prevent any overflow. The mixture should bubble up, and that’s a good sign!
Cooking the Caramel
- After the final 2 minutes, remove the bowl from the microwave and stir in the vanilla extract and salt. The mixture will be very hot, so be cautious while stirring.
- At this point, you can also add any optional ingredients, such as nuts or chocolate chips, if you desire. Stir them in gently to distribute evenly.
- Prepare an 8×8 inch square baking dish by lining it with parchment paper. This will make it easier to remove the caramels once they are set. If you don’t have parchment paper, you can lightly grease the dish with butter.
- Pour the hot caramel mixture into the prepared baking dish. Use a spatula to spread it evenly across the bottom of the dish. Be careful, as the mixture is extremely hot!
Cooling and Setting
- Allow the caramel to cool at room temperature for about 30 minutes. If you want to speed up the process, you can place it in the refrigerator for about 15 minutes.
- Once the caramel has cooled and set, you can sprinkle a little sea salt on top if you like that sweet and salty combination. This step is optional but highly recommended!
- After the caramel has completely cooled and set, use the parchment paper to lift it out of the baking dish. Place it on a cutting board.
- Using a sharp knife, cut the caramel into small squares or rectangles, depending on your preference. Make sure to wipe the knife with a damp cloth between cuts to keep the edges clean.
Storing the Caramels
- Once cut, you can wrap each caramel individually in wax paper or cellophane to keep them fresh. This also makes them easy to share or gift!
- Store the wrapped caramels in an airtight container at room temperature. They should last for about 2 weeks, but I doubt they’ll last that long!
- If you want to keep them longer, you can store them in the refrigerator, where they will last for up to a month. Just remember to bring them to room temperature before enjoying for the best texture.
Tips for Perfect Caramels
- Make sure to use a microwave-safe bowl that is large enough to prevent the mixture from bubbling over.
- Stirring the mixture halfway through cooking is essential for even cooking and to prevent burning.
- If you prefer a firmer caramel, you can cook it for an additional minute or two, but be careful not to overcook it, as it can become too hard.
- Experiment with flavors by adding a teaspoon of your favorite extract, such as almond or maple, in place of vanilla.
- For a fun twist, consider adding a sprinkle of crushed nuts or a drizzle of chocolate on top of the cooled caramels.
- 1 cup granulated sugar
- 1/2 cup unsalted butter
- 1/2 cup sweetened condensed milk
- 1/4 cup light corn syrup
- 1 teaspoon vanilla extract
- 1/4 teaspoon salt
- Optional: Sea salt for sprinkling
- Optional: Parchment paper for lining the pan
- In a medium-sized microwave-safe bowl, combine the granulated sugar, unsalted butter, sweetened condensed milk, and light corn syrup. Measure each ingredient accurately for the best results.
- Stir the mixture gently with a spatula until all the ingredients are well combined. It should look somewhat smooth.
- Place the bowl in the microwave and heat on high for 4 minutes. Carefully remove the bowl (it will be hot!) and stir the mixture thoroughly.
- Return the bowl to the microwave and heat for an additional 2 minutes, keeping an eye on it to prevent overflow. The mixture should bubble up.
- After the final 2 minutes, remove the bowl from the microwave and stir in the vanilla extract and salt. Be cautious as the mixture will be very hot.
- If desired, add any optional ingredients like nuts or chocolate chips and stir gently.
- Prepare an 8×8 inch square baking dish by lining it with parchment paper or lightly greasing it with butter.
- Pour the hot caramel mixture into the prepared baking dish and spread it evenly with a spatula.
- Allow the caramel to cool at room temperature for about 30 minutes, or refrigerate for 15 minutes to speed up the process.
- Once cooled, sprinkle a little sea salt on top if desired.
- Lift the caramel out of the baking dish using the parchment paper and place it on a cutting board.
- Cut the caramel into small squares or rectangles with a sharp knife, wiping the knife with a damp cloth between cuts.
- Wrap each caramel individually in wax paper or cellophane to keep them fresh.
- Store the wrapped caramels in an airtight container at room temperature for about 2 weeks.
- For longer storage, keep them in the refrigerator for up to a month, bringing them to room temperature before enjoying.
- Use a microwave-safe bowl large enough to prevent bubbling over.
- Stirring halfway through cooking is essential for even cooking.
- For firmer caramels, cook for an additional minute or two, but avoid overcooking.
- Experiment with flavors by substituting vanilla with almond or maple extract.
- Consider adding crushed nuts or a drizzle of chocolate on top for a fun twist.
Conclusion:
In conclusion, this 6 Minute Caramels recipe is an absolute must-try for anyone who loves the rich, buttery flavor of homemade caramel. The simplicity and speed of this recipe make it perfect for both novice cooks and seasoned bakers alike. With just a few ingredients and minimal time, you can create a delightful treat that will impress your family and friends. The satisfaction of making your own caramels is unparalleled, and the taste is simply divine!
When it comes to serving suggestions, the possibilities are endless. You can enjoy these caramels on their own, wrapped in wax paper for a delightful homemade gift. They also make a fantastic addition to dessert platters, paired with chocolate or nuts for a gourmet touch. If you’re feeling adventurous, consider drizzling them with melted chocolate or sprinkling a pinch of sea salt on top for that perfect sweet and salty combination. You could even chop them up and mix them into your favorite ice cream or use them as a topping for brownies and cakes. The versatility of these caramels means you can customize them to suit any occasion!
I encourage you to give this 6 Minute Caramels recipe a try. It’s a fun and rewarding experience that will leave you with a delicious treat to enjoy or share. Don’t forget to take a moment to savor the process—watching the sugar transform into a beautiful golden caramel is truly magical. Once you’ve made your batch, I would love to hear about your experience! Share your thoughts, variations, and any creative twists you added to the recipe. Did you try adding a hint of vanilla or perhaps some toasted nuts? Your feedback not only inspires me but also helps others in our cooking community discover new ways to enjoy this delightful treat.
So, roll up your sleeves, gather your ingredients, and let’s get cooking! I can’t wait for you to experience the joy of making your own 6 Minute Caramels. Happy cooking!
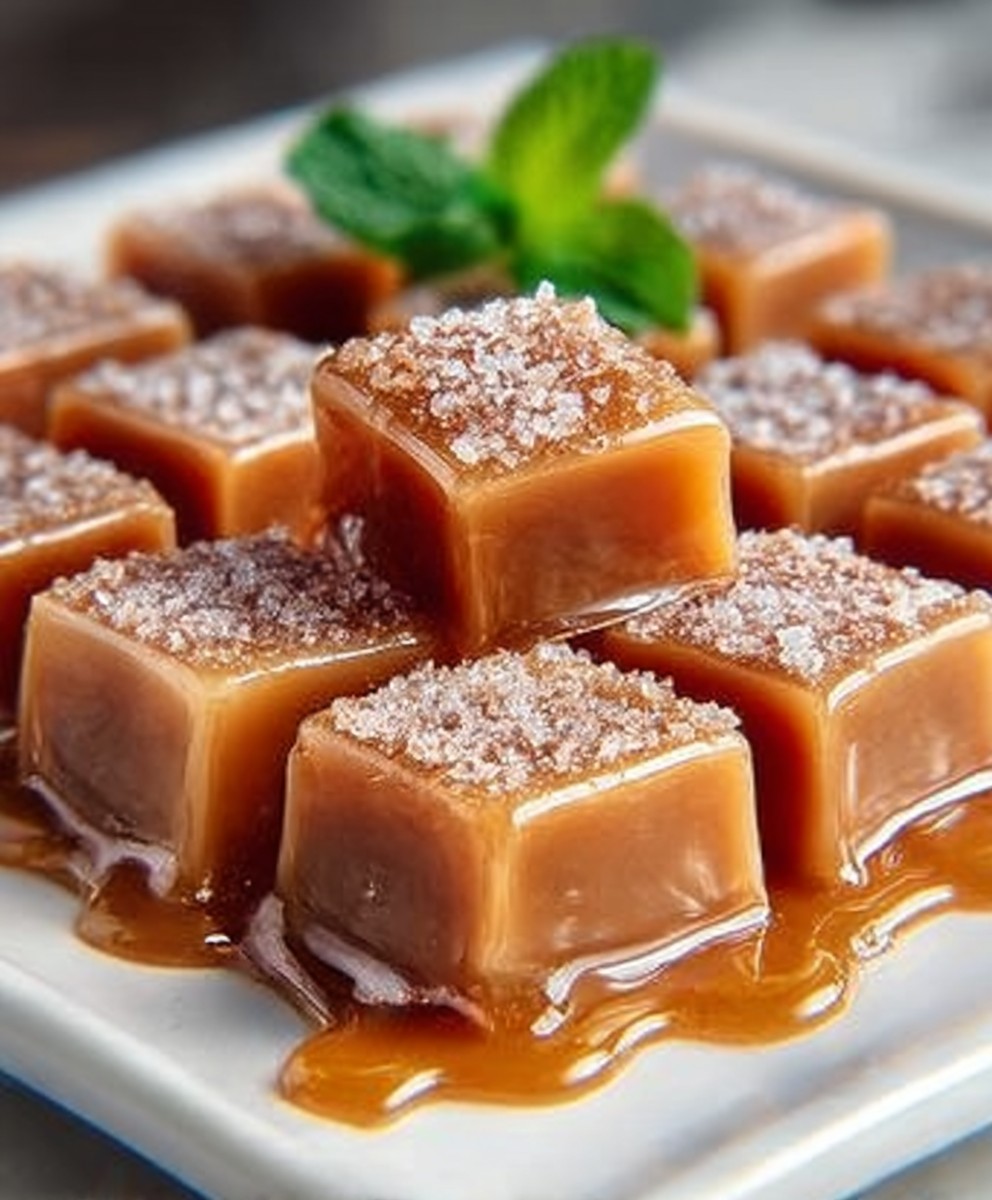
6 Minute Caramels: Quick and Easy Recipe for Delicious Treats
Enjoy these easy microwave caramels that are rich, creamy, and perfect for sharing. With just a few simple ingredients, you can create a delightful treat that balances sweet and salty flavors, making them utterly irresistible!


Leave a Comment