
Easy Cherry Pie: A Slice of Nostalgia
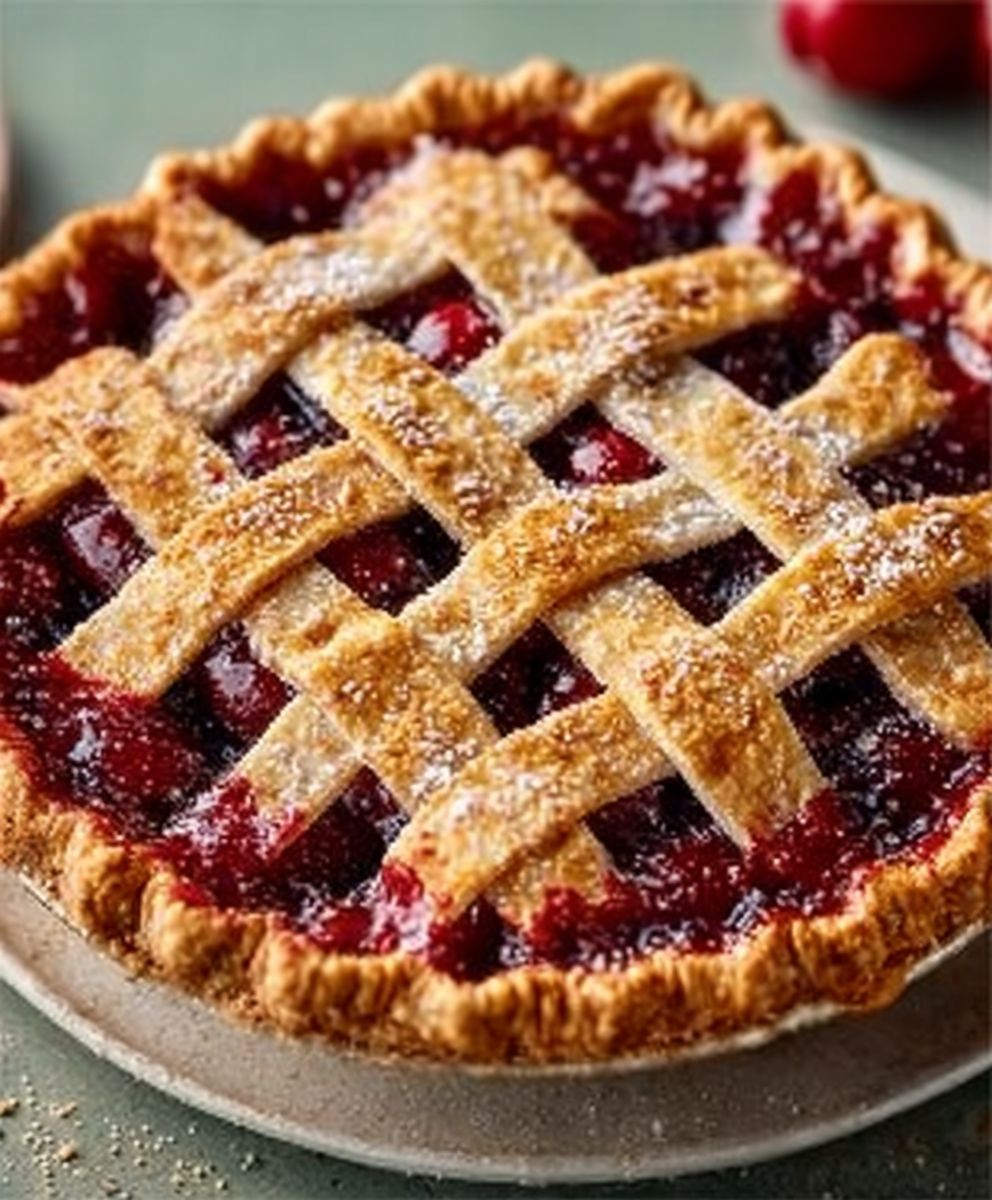
Easy Cherry Pie is not just a dessert; it’s a delightful experience that brings back fond memories of family gatherings and summer picnics. This classic recipe has been cherished for generations, often passed down through families, each adding their own unique twist. The vibrant red cherries, nestled in a flaky crust, create a visual feast that is as appealing as it is delicious.
People love Easy Cherry Pie for its perfect balance of sweet and tart flavors, combined with a satisfying texture that melts in your mouth. The convenience of this recipe makes it a go-to for both novice bakers and seasoned chefs alike. With just a handful of ingredients and minimal prep time, you can whip up a pie that will impress your guests and satisfy your sweet tooth. Whether served warm with a scoop of vanilla ice cream or enjoyed on its own, Easy Cherry Pie is sure to become a favorite in your home.

Ingredients:
- 2 cups fresh or frozen cherries, pitted
- 1 cup granulated sugar
- 2 tablespoons cornstarch
- 1 tablespoon lemon juice
- 1 teaspoon vanilla extract
- 1/4 teaspoon almond extract (optional)
- 1/4 teaspoon salt
- 1 tablespoon butter, cut into small pieces
- 1 package refrigerated pie crusts (2 crusts)
- 1 egg, beaten (for egg wash)
- 1 tablespoon sugar (for sprinkling on top)
Preparing the Cherry Filling
- In a large mixing bowl, combine the pitted cherries and granulated sugar. If you are using frozen cherries, make sure they are thawed and drained of excess liquid.
- Add the cornstarch to the cherry mixture. This will help thicken the filling as it cooks.
- Stir in the lemon juice, vanilla extract, almond extract (if using), and salt. Mix everything together gently until the cherries are well coated with the sugar and cornstarch mixture.
- Let the cherry filling sit for about 10-15 minutes. This allows the cherries to release their juices and helps the sugar dissolve.
Preparing the Pie Crust
- Preheat your oven to 425°F (220°C).
- While the cherry filling is resting, take the refrigerated pie crusts out of the package. Unroll one of the crusts and fit it into a 9-inch pie pan. Make sure to press it gently into the bottom and sides of the pan.
- Trim any excess crust hanging over the edges, leaving about 1 inch of overhang. This will allow you to fold the edges over the top crust later.
- Once the crust is in place, pour the cherry filling into the crust, spreading it evenly. Dot the filling with small pieces of butter to enhance the flavor.
Assembling the Pie
- Unroll the second pie crust and place it over the cherry filling. You can either leave it whole or cut slits in the top crust to create a lattice pattern. If you choose to make a lattice, cut the crust into strips and weave them over the filling.
- Trim the excess crust from the top layer, leaving about 1 inch of overhang. Fold the edges of both crusts together and crimp them to seal the pie. You can use your fingers or a fork to create a decorative edge.
- Brush the top crust with the beaten egg to give it a beautiful golden color when baked. Sprinkle a tablespoon of sugar over the top for added sweetness and crunch.
Baking the Pie
- Place the assembled pie on a baking sheet to catch any drips during baking. This will save you from a messy oven!
- Bake the pie in the preheated oven for 15 minutes at 425°F (220°C).
- After 15 minutes, reduce the oven temperature to 350°F (175°C) and continue baking for an additional 30-35 minutes. The pie is done when the crust is golden brown and the filling is bubbling.
- If the edges of the crust start to brown too quickly, cover them with strips of aluminum foil to prevent burning.
Cooling and Serving
- Once the pie is baked, remove it from the oven and let it cool on a wire rack for at least 2 hours. This cooling time allows the filling to set properly.
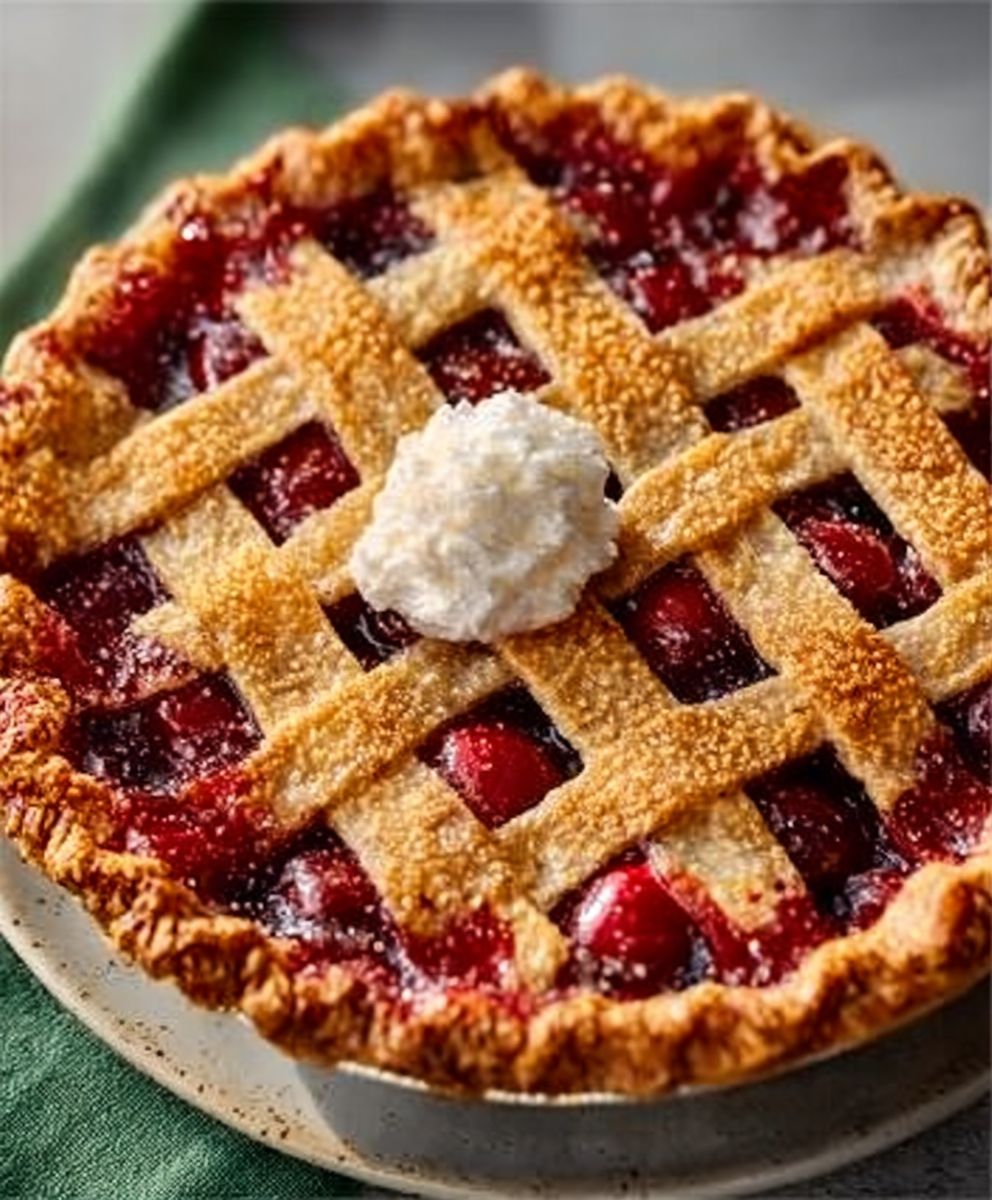
- After cooling, slice the pie into wedges. Serve it plain or with a scoop of vanilla ice cream or whipped cream for an extra treat.
- Enjoy your homemade cherry pie with family and friends, and don’t forget to share the recipe!
Storage Tips
- If you have leftovers, cover the pie with plastic wrap or aluminum foil and store it in the refrigerator. It will keep well for up to 3-4 days.
- You can also freeze the pie. Wrap it tightly in plastic
Conclusion:
If you’re looking for a dessert that’s both simple to make and utterly delicious, this Easy Cherry Pie is a must-try! With its flaky crust and sweet, tangy cherry filling, it’s the perfect way to celebrate any occasion or simply indulge in a comforting treat at home. The beauty of this recipe lies in its straightforward preparation, making it accessible for bakers of all skill levels. Whether you’re a seasoned pro or a novice in the kitchen, you’ll find that this pie comes together effortlessly, allowing you to focus on enjoying the delightful flavors.
For serving suggestions, I highly recommend pairing your Easy Cherry Pie with a scoop of vanilla ice cream or a dollop of freshly whipped cream. The creamy texture complements the tartness of the cherries beautifully, creating a harmonious balance that will leave your taste buds dancing. If you’re feeling adventurous, consider adding a sprinkle of cinnamon or nutmeg to the filling for an extra layer of warmth and spice. You could also experiment with different types of cherries, such as sour or sweet, to customize the flavor to your liking.
Another fun variation is to turn this pie into individual tartlets. Simply use a muffin tin to create mini pies, perfect for parties or gatherings. These bite-sized treats are not only adorable but also make for easy serving and sharing. You could even add a crumb topping for a delightful crunch that contrasts with the soft filling.
I encourage you to give this Easy Cherry Pie a try and make it your own! Baking is all about creativity, so don’t hesitate to put your spin on it. Once you’ve made it, I’d love to hear about your experience. Did you stick to the classic recipe, or did you try out one of the variations? Share your thoughts and any tips you discovered along the way.
Remember, the joy of baking is not just in the final product but also in the process itself. So gather your ingredients, roll up your sleeves, and dive into this delightful cherry pie adventure. I promise you won’t regret it! Happy baking!
Easy Cherry Pie: A Simple Recipe for Delicious Homemade Dessert
Enjoy a delightful cherry pie bursting with sweet and tart flavors, featuring a buttery, flaky crust. This classic dessert, made with fresh or frozen cherries, is perfect for any occasion and will surely impress your guests!
Ingredients
- 2 cups fresh or frozen cherries, pitted
- 1 cup granulated sugar
- 2 tablespoons cornstarch
- 1 tablespoon lemon juice
- 1 teaspoon vanilla extract
- 1/4 teaspoon almond extract (optional)
- 1/4 teaspoon salt
- 1 tablespoon butter, cut into small pieces
- 1 package refrigerated pie crusts (2 crusts)
- 1 egg, beaten (for egg wash)
- 1 tablespoon sugar (for sprinkling on top)
Instructions
- In a large mixing bowl, combine the pitted cherries and granulated sugar. If using frozen cherries, ensure they are thawed and drained of excess liquid.
- Add the cornstarch to the cherry mixture to help thicken the filling as it cooks.
- Stir in the lemon juice, vanilla extract, almond extract (if using), and salt. Mix gently until the cherries are well coated.
- Let the cherry filling sit for about 10-15 minutes to allow the cherries to release their juices and help the sugar dissolve.
- Preheat your oven to 425°F (220°C).
- Unroll one of the refrigerated pie crusts and fit it into a 9-inch pie pan, pressing gently into the bottom and sides.
- Trim any excess crust, leaving about 1 inch of overhang.
- Pour the cherry filling into the crust, spreading it evenly, and dot with small pieces of butter.
- Unroll the second pie crust and place it over the cherry filling. You can leave it whole or cut slits for a lattice pattern.
- Trim the excess crust from the top layer, leaving about 1 inch of overhang. Fold and crimp the edges to seal the pie.
- Brush the top crust with the beaten egg and sprinkle with sugar.
- Place the assembled pie on a baking sheet to catch drips.
- Bake in the preheated oven for 15 minutes at 425°F (220°C).
- Reduce the temperature to 350°F (175°C) and continue baking for an additional 30-35 minutes, until the crust is golden brown and the filling is bubbling.
- If the edges brown too quickly, cover them with aluminum foil.
- Remove the pie from the oven and let it cool on a wire rack for at least 2 hours to set the filling.
- Slice into wedges and serve plain or with vanilla ice cream or whipped cream.
- Enjoy your homemade cherry pie!
Notes
- For best results, use fresh cherries when in season.
- If using frozen cherries, ensure they are completely thawed and drained to avoid excess liquid in the filling.
- Let the cherry filling sit for 10-15 minutes to enhance the flavor and texture.
- Cover the pie with aluminum foil if the edges brown too quickly during baking.
- Allow the pie to cool for at least 2 hours before slicing to ensure the filling sets properly.
- Store leftovers in the refrigerator for up to 3-4 days, or freeze for longer storage.


Leave a Comment