
Gluten-Free Biscuits are a delightful treat that can bring comfort to any meal. Whether you’re enjoying them for breakfast, as a side for dinner, or even as a snack, these biscuits are sure to impress. Originating from Southern cuisine, biscuits have a rich history that dates back to the early settlers who adapted their recipes to the ingredients available to them. Today, gluten-free versions have gained immense popularity, allowing those with dietary restrictions to indulge in this classic comfort food.
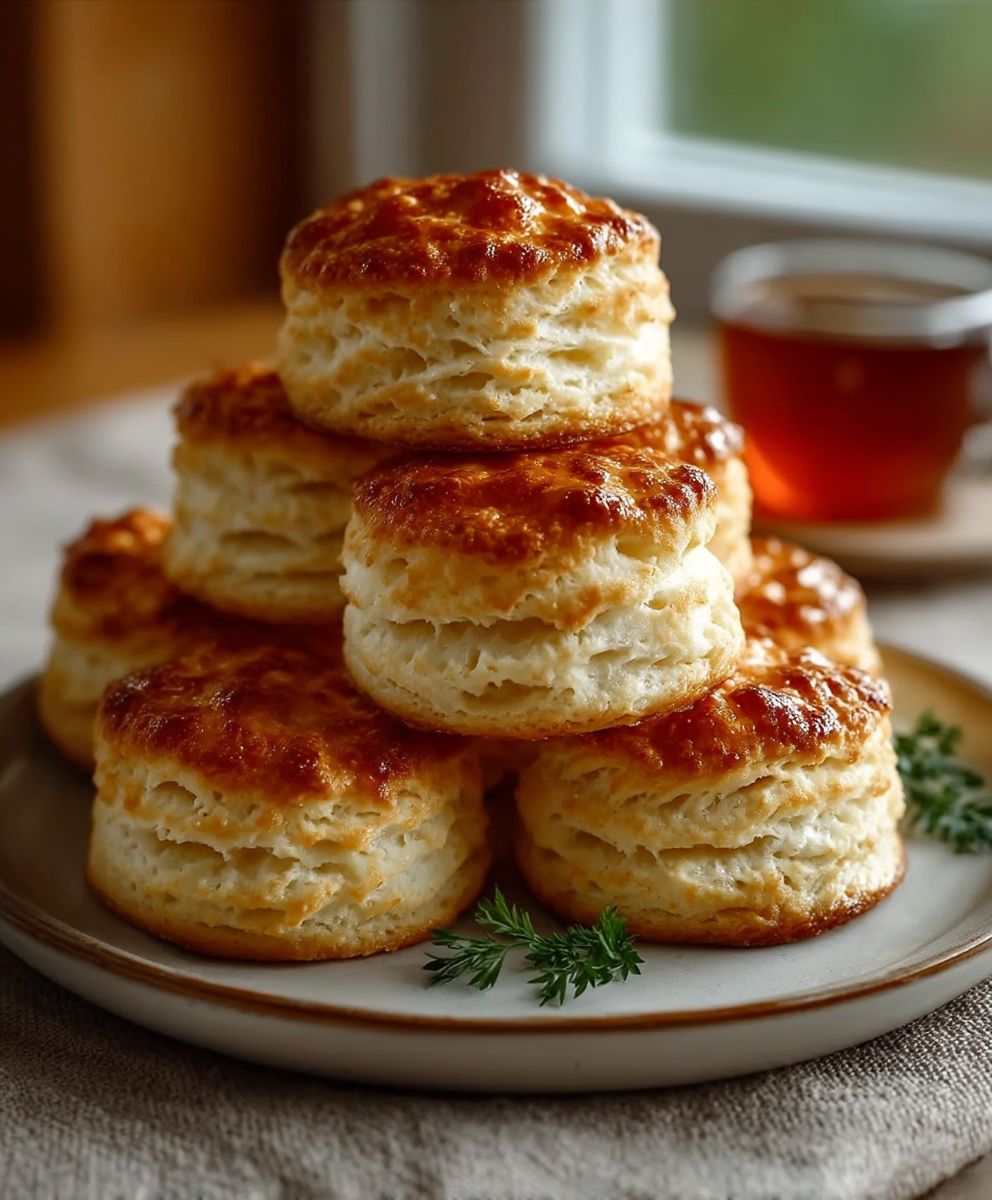
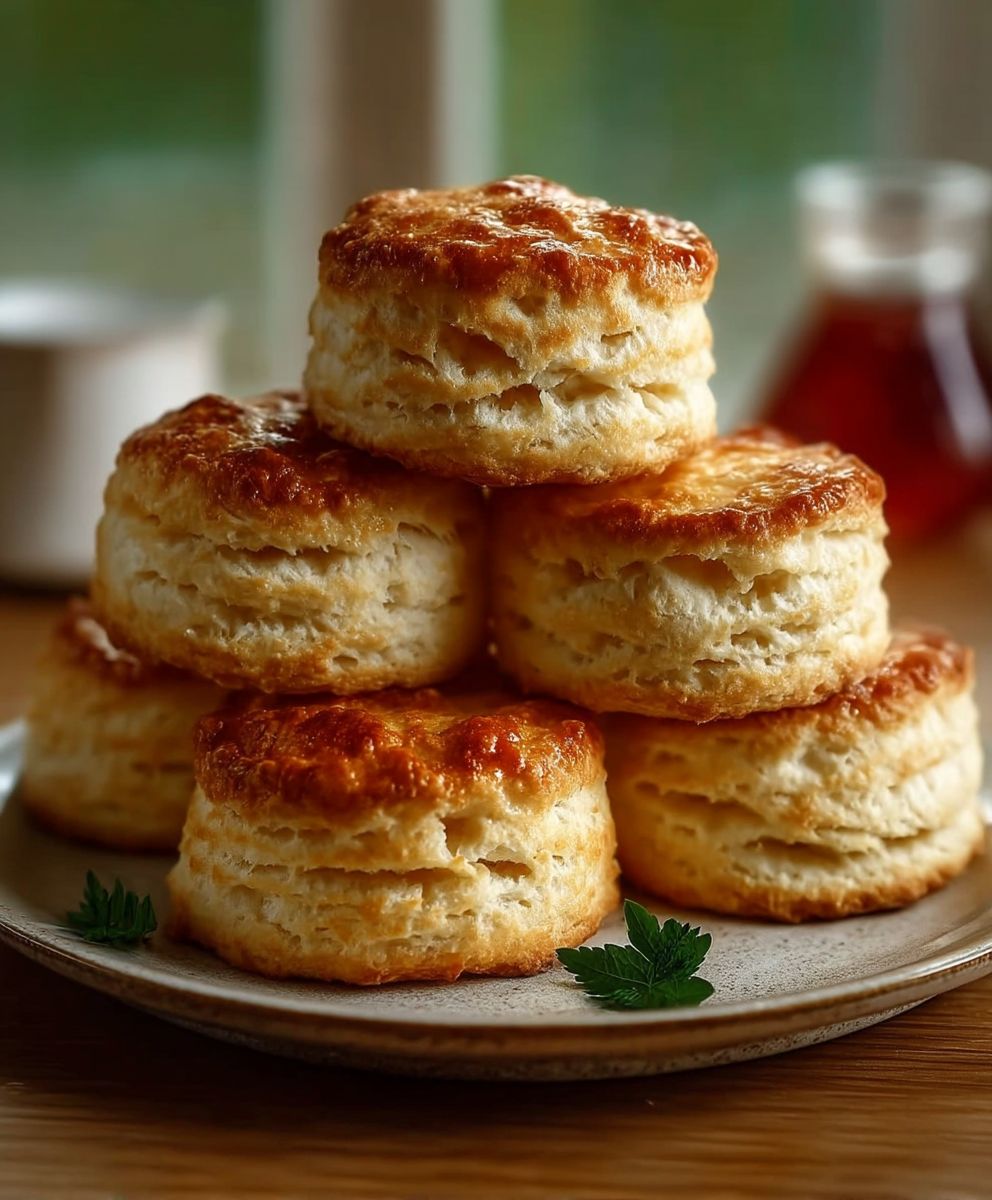
What makes gluten-free biscuits so beloved is their incredible taste and texture. They are light, fluffy, and buttery, providing a satisfying bite that pairs perfectly with jams, gravies, or even just a pat of butter. Plus, they are incredibly convenient to make, requiring minimal ingredients and time. I love whipping up a batch of these biscuits when I have guests over or simply when I want to treat myself. Join me as we explore this delicious recipe that everyone can enjoy!

Ingredients:
- 2 cups gluten-free all-purpose flour
- 1 tablespoon baking powder
- 1/2 teaspoon baking soda
- 1/2 teaspoon salt
- 1/4 cup cold unsalted butter, cubed
- 3/4 cup buttermilk (or dairy-free alternative)
- 1 large egg
- 1 tablespoon honey (optional, for a touch of sweetness)
Preparing the Dough
- Preheat the Oven: Start by preheating your oven to 425°F (220°C). This high temperature is essential for achieving that perfect flaky texture.
- Mix Dry Ingredients: In a large mixing bowl, combine the gluten-free all-purpose flour, baking powder, baking soda, and salt. Whisk them together until they are well blended. This step is crucial as it ensures that the leavening agents are evenly distributed throughout the flour.
- Add Butter: Next, add the cold, cubed butter to the dry mixture. Using a pastry cutter or your fingers, work the butter into the flour until the mixture resembles coarse crumbs. You want to see small pea-sized pieces of butter throughout the mixture, as this will help create a flaky biscuit.
- Combine Wet Ingredients: In a separate bowl, whisk together the buttermilk, egg, and honey (if using). Make sure the mixture is well combined.
- Incorporate Wet and Dry Ingredients: Pour the wet ingredients into the dry mixture. Using a spatula or wooden spoon, gently fold the ingredients together until just combined. Be careful not to overmix; a few lumps are perfectly fine. The dough should be slightly sticky.
Shaping the Biscuits
- Prepare the Surface: Lightly flour a clean surface with some gluten-free flour. This will prevent the dough from sticking as you work with it.
- Turn Out the Dough: Transfer the dough onto the floured surface. Using your hands, gently pat the dough into a rectangle about 1-inch thick. Avoid using a rolling pin, as this can overwork the dough and lead to tough biscuits.
- Cut the Biscuits: Using a sharp biscuit cutter or a glass, cut out biscuits from the dough. Press straight down without twisting to ensure they rise properly. Place the cut biscuits on a baking sheet lined with parchment paper, leaving about 1 inch of space between each biscuit.
- Gather and Re-roll: Gather any leftover dough, gently knead it a couple of times, and repeat the cutting process until all the dough is used. Remember, the more you handle the dough, the tougher the biscuits may become, so be gentle.
Baking the Biscuits
- Brush with Buttermilk: For a beautiful golden crust, brush the tops of the biscuits with a little extra buttermilk before baking. This step adds flavor and enhances the color.
- Bake: Place the baking sheet in the preheated oven and bake for 12-15 minutes, or until the biscuits are golden brown on top. Keep an eye on them towards the end of the baking time to prevent over-browning.
- Cool: Once baked, remove the biscuits from the oven and let them cool on the baking sheet for about 5 minutes. This allows them to set and makes them easier to handle.
Serving Suggestions
- Enjoy Warm: These gluten-free biscuits are best enjoyed warm. You can serve them with butter, honey, or your favorite jam. They also pair wonderfully with soups and stews.
- Storage: If you have leftovers, store them in an airtight container at room temperature for up to 2 days. For longer storage, you can freeze the biscuits. Just make sure to wrap them tightly in plastic wrap and then place them in a freezer bag. They can be reheated in the oven or microwave when you’re ready to enjoy them again.
Tips for
Conclusion:
If you’re looking for a delightful addition to your breakfast or brunch table, these gluten-free biscuits are an absolute must-try! They are not only easy to make but also incredibly versatile, allowing you to enjoy them in various ways. The flaky texture and buttery flavor will have you reaching for seconds, and the best part is that they cater to those with gluten sensitivities without compromising on taste or quality.
For serving suggestions, consider pairing these biscuits with a dollop of homemade jam or a drizzle of honey for a sweet treat. They also shine when served alongside savory dishes; try them with a hearty bowl of soup or as a base for a delicious breakfast sandwich filled with eggs, cheese, and your favorite breakfast meats. If you’re feeling adventurous, you can even experiment with different add-ins like shredded cheese, herbs, or spices to customize the flavor to your liking. Imagine a batch of cheddar and chive biscuits or perhaps some rosemary-infused delights—endless possibilities await!
I encourage you to give this gluten-free biscuits recipe a try. It’s perfect for family gatherings, holiday breakfasts, or simply as a comforting snack any time of the day. Once you’ve made them, I would love to hear about your experience! Did you stick to the classic recipe, or did you try out some fun variations? Share your thoughts and any creative twists you added in the comments below. Your feedback not only helps me improve but also inspires others in our community to get cooking!
So, roll up your sleeves, gather your ingredients, and let’s get baking! You won’t regret it, and I promise these gluten-free biscuits will become a staple in your kitchen. Happy baking!
Gluten-Free Biscuits: Easy Recipes for Delicious Homemade Treats
These light and flaky gluten-free biscuits are quick and easy to make, perfect for breakfast or as a side dish. Enjoy them warm with butter, honey, or your favorite jam for a delightful treat.
Ingredients
- 2 cups gluten-free all-purpose flour
- 1 tablespoon baking powder
- 1/2 teaspoon baking soda
- 1/2 teaspoon salt
- 1/4 cup cold unsalted butter, cubed
- 3/4 cup buttermilk (or dairy-free alternative)
- 1 large egg
- 1 tablespoon honey (optional, for a touch of sweetness)
Instructions
- Preheat your oven to 425°F (220°C).
- In a large mixing bowl, combine the gluten-free all-purpose flour, baking powder, baking soda, and salt. Whisk until well blended.
- Add the cold, cubed butter to the dry mixture. Using a pastry cutter or your fingers, work the butter into the flour until it resembles coarse crumbs.
- In a separate bowl, whisk together the buttermilk, egg, and honey (if using) until well combined.
- Pour the wet ingredients into the dry mixture. Gently fold together until just combined; a few lumps are fine. The dough should be slightly sticky.
- Lightly flour a clean surface with gluten-free flour.
- Transfer the dough onto the floured surface and gently pat it into a rectangle about 1-inch thick.
- Using a sharp biscuit cutter or glass, cut out biscuits from the dough. Place them on a baking sheet lined with parchment paper, leaving about 1 inch of space between each.
- Gather any leftover dough, knead gently, and repeat the cutting process until all dough is used.
- Brush the tops of the biscuits with a little extra buttermilk for a golden crust.
- Place the baking sheet in the preheated oven and bake for 12-15 minutes, or until golden brown on top.
- Remove from the oven and let cool on the baking sheet for about 5 minutes.
- Serve warm with butter, honey, or jam. They pair well with soups and stews.
- Store leftovers in an airtight container at room temperature for up to 2 days, or freeze wrapped tightly for longer storage.
Notes
- Be careful not to overmix the dough to ensure the biscuits remain tender.
- For a dairy-free version, substitute buttermilk with a dairy-free alternative.


Leave a Comment